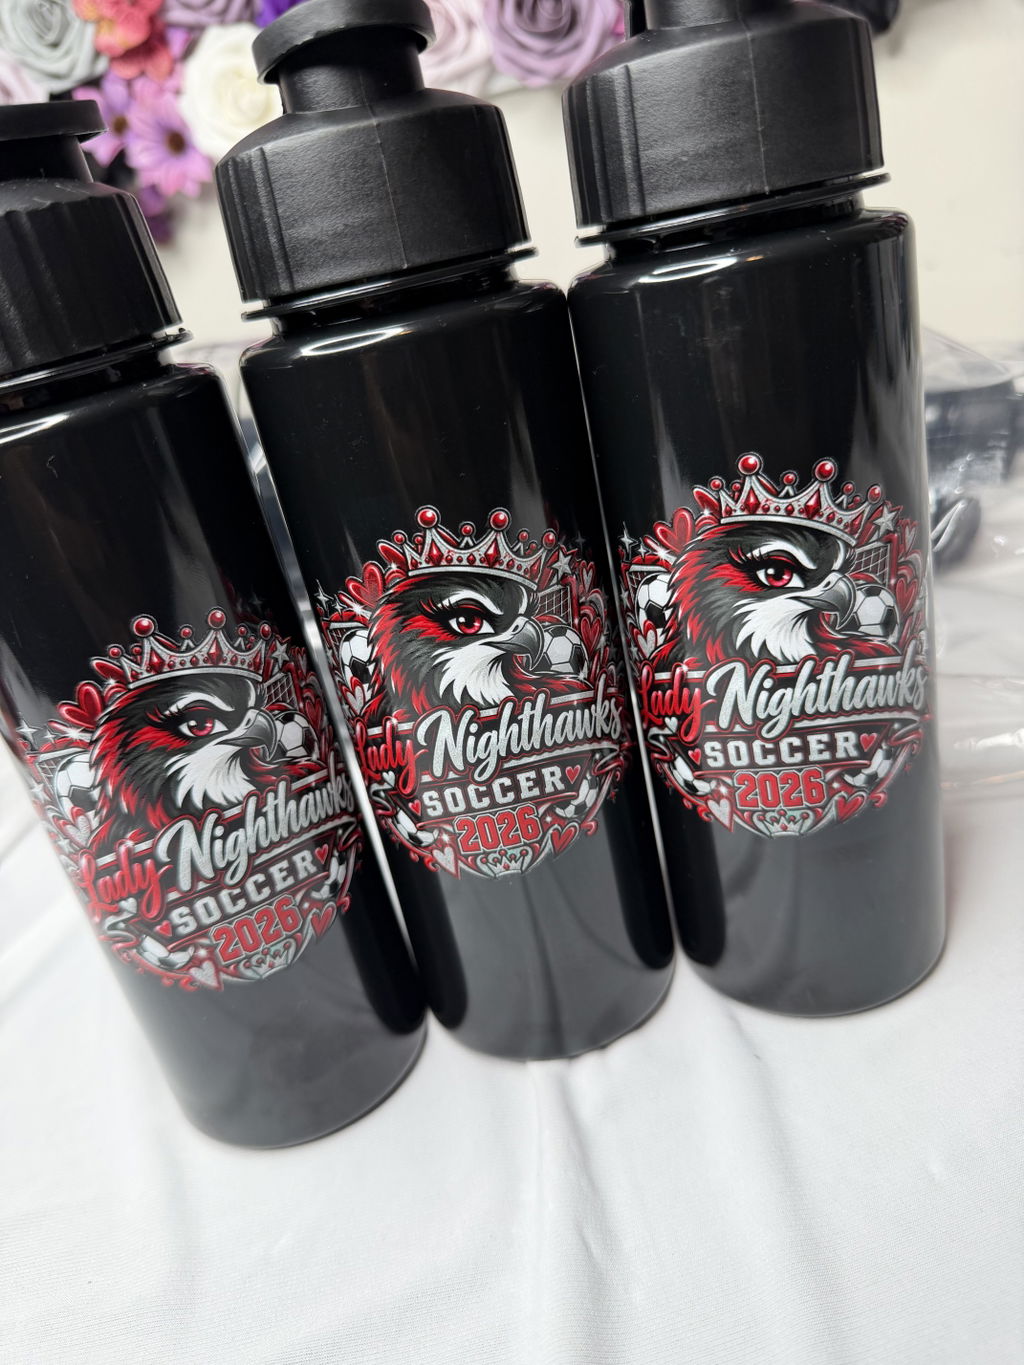
VIBRANT COLORS
•ORDER TODAY. PRINT TODAY. SHIP TODAY
•PREMIUM DTF TRANSFERS
•NO MINIMUMS
•FREE SHIPPING OVER $100
•DTF Transfer Sizes · DTF Transfers for T-Shirts · Shirt Print Placement

The number of garments in a t-shirt order does not automatically tell you how many DTF transfers you need. One shirt may use only a front graphic. Another may require both a front and back print. A different group may add a sleeve graphic as well. A reliable order plan starts by identifying how many separate transfers each garment actually needs.
If you are planning a custom apparel order in Franklin, TN, connect the shirt list with the artwork, placements, final print sizes, and quantities for each combination. Once those pieces are clear, it becomes easier to decide which transfers can be ordered by size and whether a more complex multi-graphic job may be better suited to a gang sheet.
For broader local ordering information, see our Franklin DTF transfers guide. This article focuses specifically on turning garment quantities into the actual number of transfers required for a t-shirt or apparel order.
An order for 30 t-shirts does not necessarily require 30 transfers. If every shirt uses one front print, 30 garments require 30 transfers. If every shirt uses both a front and back graphic, those same 30 garments require two separate transfers per shirt.
Before calculating quantities, map the placement structure of the order:
Each placement creates its own transfer requirement. A garment with two separate placements needs two transfers. A garment with three placements creates three individual transfer needs.
This distinction is especially important for group apparel and team shirt orders, where overlooking one placement across a larger garment count can create a significant quantity mismatch.
The same artwork should not always be treated as one transfer item when it appears in different placements. A logo, for example, might be used as a large front print and as a smaller sleeve graphic. The design may be the same, but the final dimensions are different, so they should be tracked as separate production items.
A simple working record can include:
A label such as “Company Logo” may not provide enough information on its own. Separating it into entries such as “Company Logo — front — large” and “Company Logo — sleeve — small” makes the intended use of each transfer much clearer.
This also reduces confusion when several people are involved in preparing, ordering, sorting, or pressing the shirts.
Different placements in the same shirt order do not always use the same quantity.
Every garment in a group may receive a front design, while only part of the order receives a back graphic. A sleeve logo might apply to another subset of garments. Applying the total shirt count to every artwork in that situation would produce the wrong transfer quantities.
For each placement, ask one question:
How many garments will actually receive this transfer?
Record front, back, and sleeve quantities separately, then compare each number with the garment list before submitting the order.
This becomes even more important when an order contains different shirt types, staff groups, team roles, or other apparel categories that do not all use the same print setup.
Shirt size and DTF transfer size are not the same thing. An apparel order may include small, medium, large, and extra-large garments while still using the same final transfer dimensions across several of those sizes.
In another order, youth garments may use a smaller artwork version while adult shirts use a larger one.
That is why transfer quantities should not automatically be divided according to garment size labels. First determine which final artwork size belongs to each garment group.
If adult small, medium, and large shirts all use the same front transfer dimensions, those garment quantities can be combined into one transfer group. If youth shirts use different artwork dimensions, they should be tracked as a separate transfer item.
The useful distinction is not simply “small shirt versus large shirt.” It is which garment group uses which final print size.
A finished artwork file does not automatically establish the size at which it should be printed. Final print dimensions are a separate order decision.
Record the intended dimensions for every placement before submitting the transfer order. Avoid grouping front graphics, back prints, and sleeve designs under one generic size when their actual dimensions differ.
When the artwork, final size, and quantity are already defined, ordering custom DTF transfers by size can provide a straightforward way to track each artwork-size-quantity combination.
This structure can be especially practical for branded shirt orders, team apparel, or group jobs that repeat one or a few designs at established sizes.
To calculate the real transfer requirement, read the garment list together with the placement plan.
Consider an order for 24 shirts:
The order contains 24 garments, but it contains three separate transfer groups. You need 24 front transfers, 12 back transfers, and 8 sleeve transfers.
The total garment quantity and the transfer quantity are therefore two different measurements. What matters for production is how many times each artwork-and-placement combination will actually be applied.
If one shirt includes a front graphic, back graphic, and sleeve logo, that single garment uses three transfers. This relationship matters in team, organization, and branded apparel orders because a small counting mistake can multiply across the entire garment list.
Keeping garment counts and transfer counts as separate records makes this difference easier to see before the order is submitted.
An order using one front logo 50 times has a very different planning structure from a 50-shirt order containing front graphics, back graphics, sleeve artwork, and several design variations.
For a simple order with one or a few designs, the production record may only need:
As the number of designs increases, matching each transfer item with the correct garment group becomes more important. Names, numbers, logo variations, and different placement combinations can all increase the number of production items without changing the total number of shirts.
Instead of asking only how many designs are in the folder, identify how many distinct artwork-placement-size combinations the order actually contains.
Transfers by size can be a practical choice when the artwork list is short, final dimensions are known, and quantities are easy to track individually.
For example, a branded shirt order using one front logo and one sleeve logo can be organized as two defined artwork-size combinations, each with its own quantity.
This model is especially straightforward when you already know exactly which artwork needs to be printed, at what size, and how many copies are required.
It also makes it easy to keep a direct relationship between each production item and the garments on which it will be used.
An apparel job can become more complex when it includes many artwork files, different final sizes, names, numbers, or repeated small graphics. In that situation, a DTF gang sheet may be worth considering.
The decision is not based only on garment quantity. The more useful question is how many different graphics and size combinations need to be managed within the same production run.
This article is not intended to explain gang sheet layout building. If you need to compare the two ordering formats, see our DTF gang sheets versus transfers by size comparison.
For group apparel, it can be useful to define the transfer set required for each garment type instead of looking only at individual transfer counts.
A standard team shirt set, for example, might include:
If every shirt in the order uses that same set, calculating the requirement is relatively simple. If different garment groups use different sets, separate them before calculating quantities.
Staff shirts, player shirts, event shirts, or other apparel groups within the same order may use different artwork-placement combinations.
This gives you a more useful planning question than “How many shirts are there?” Ask instead: Which transfer set does each garment group use?
If the same branded shirt or team apparel program is likely to be reordered, the first completed order can become a useful reference for future production.
Keep the artwork name, final print size, and placement associated with each recurring transfer item. Those details can provide a starting point the next time the shirts are ordered.
Do not automatically copy the old quantities into the new order. Recheck the current garment count and confirm which placements are still required.
This approach allows established design decisions to remain organized while preventing an outdated quantity from being carried into a new apparel run.
Before finalizing the order, compare the garment list with the transfer plan:
Once those checks are complete, the transfer order is no longer just a shirt quantity list. It becomes a production plan showing which artwork goes on which garment, where it will be placed, what size it should be, and how many copies are required.
When planning custom DTF transfers for shirts in Franklin, the starting point should not be the total garment count alone. Separate the designs and placements first, then define the final dimensions and quantity for each transfer item.
One shirt may use one transfer, while another may require multiple transfers for front, back, and sleeve graphics. Different garment sizes may share one transfer size, or the artwork plan may require separate dimensions for different garment groups. Build the order around the actual artwork-placement-size relationships rather than garment size labels alone.
Once the plan is complete, you can review the available DTF transfer options and move forward with the ordering format that fits your shirt project.